Build your own car prep kit.
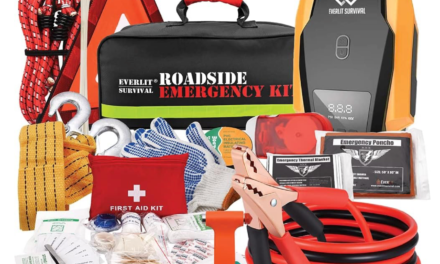
If you’ve ever been stuck on the side of the road with a dead battery, flat tire, or bad weather, you know how quickly a simple trip can turn stressful. While pre-made emergency car kits are widely available, they often include generic items that may not fit your needs or climate. Building your own car prep kit ensures you have exactly what you need—no more, no less.
In this guide, we’ll walk you step-by-step through creating a fully customized DIY car prep kit, covering essential categories, storage tips, and a ready-to-use checklist.
Why Build Your Own Car Prep Kit?
Pre-made kits are convenient, but they often have:
- Lower-quality gear to keep costs down
- Missing essentials like seasonal items or personal supplies
- Unnecessary extras that take up space
When you build your own car prep kit, you choose quality gear, tailor it to your environment, and ensure it’s easy to store and access.
Step 1: Choose Your Storage Solution
Before gathering supplies, decide how you’ll store your kit:
- Soft-sided bag or duffel: Great for easy access and portability.
- Plastic storage bin: Keeps items protected and organized.
- Backpack: Perfect if you need to carry supplies away from your car in an evacuation.
Pro Tip: Make sure it fits in your trunk without interfering with spare tire access.
Step 2: Gather Essential Categories
When building your kit, think in terms of survival and repair priorities: safety, communication, basic repairs, and comfort.
1. Safety & Visibility
When you’re stranded, being seen is critical—especially at night or in bad weather.
- LED flashlight (with extra batteries)
- Reflective safety vest
- Road flares or LED emergency beacons
- Reflective warning triangles
2. First Aid Supplies
Accidents can happen on the road, from small cuts to more serious injuries.
- Adhesive bandages
- Antiseptic wipes
- Gauze pads & tape
- Pain relievers
- Disposable gloves
- Emergency blanket
- Tweezers
Upgrade Option: A trauma kit with a tourniquet for more serious emergencies.
3. Basic Repair Tools
You don’t need to be a mechanic, but the right tools can fix minor issues or help you improvise repairs.
- Multi-tool with pliers and knife
- Adjustable wrench
- Screwdriver set
- Duct tape
- Cable ties
- Tire pressure gauge
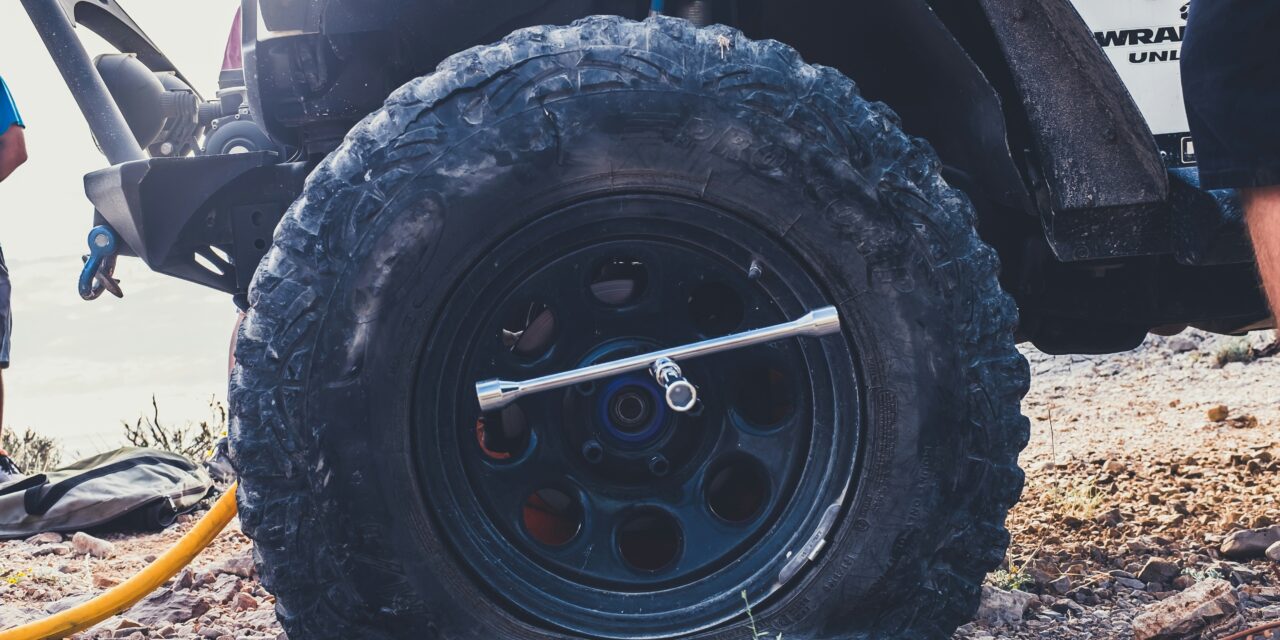
4. Tire Care & Inflation
Flat tires are one of the most common roadside problems.
- Full-size spare tire (check regularly)
- Lug wrench & jack
- Tire sealant or plug kit
- 12V air compressor
5. Power & Starting Equipment
Dead batteries are a leading cause of breakdown calls.
- Jumper cables (at least 10–12 feet, heavy gauge)
- Portable lithium jump starter
- USB phone charger
- Portable power bank
6. Seasonal & Climate-Specific Gear
Tailor your kit to your location’s weather.
For Winter:
- Ice scraper
- Small snow shovel
- Traction aids (kitty litter, sand, or traction boards)
- Thermal blankets
- Hand warmers
For Summer:
- Extra bottled water
- Sunscreen
- Cooling towel
- Wide-brimmed hat
7. Food & Water
You may be stuck for hours—having snacks and water helps you stay comfortable and alert.
- Bottled water (rotate every 6–12 months)
- Non-perishable snacks like nuts, protein bars, or dried fruit
- Collapsible water bottle
8. Comfort & Miscellaneous Items
- Poncho or rain gear
- Work gloves
- Small notebook and pen
- Spare change for tolls
- Copies of important documents (registration, insurance)
Step 3: Organize Your Kit
An effective car prep kit isn’t just about having the right items—it’s about finding them quickly.
- Group similar items together in zip-top bags or pouches.
- Label gear so anyone can use it, even under stress.
- Keep heavy items on the bottom to prevent damage to lighter gear.
Step 4: Maintenance & Seasonal Updates
Your kit is only useful if it’s ready when you need it.
- Check twice a year for expired food, dead batteries, or damaged gear.
- Rotate seasonal items—add snow gear in winter, swap for cooling items in summer.
- Test electronic items like jump starters and flashlights.
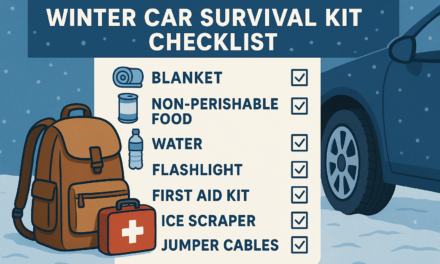
DIY Car Prep Kit Checklist
Here’s a quick list you can print and use as your building guide:
- Safety & Visibility: Flashlight, safety vest, road flares, triangles
- First Aid: Bandages, antiseptic wipes, gauze, gloves, blanket
- Repairs: Multi-tool, wrench, screwdrivers, duct tape, tire gauge
- Tire Care: Spare tire, jack, lug wrench, sealant, compressor
- Power: Jumper cables, jump starter, USB charger, power bank
- Seasonal Gear: Ice scraper, shovel, traction aids, water, cooling towel
- Food & Water: Bottled water, snacks, collapsible bottle
- Comfort Items: Poncho, gloves, documents, small cash
Why a DIY Kit is Worth the Effort
When you build your own car prep kit, you get:
- Better quality gear than most pre-made kits
- Customized contents for your location and driving habits
- Peace of mind knowing exactly where each item is stored
- Long-term savings by avoiding repeated purchases
Final Thoughts
Roadside emergencies can be stressful, but preparation turns panic into action. By building your own car prep kit, you create a safety net tailored to your needs, climate, and driving habits.
Start small—add a flashlight, jumper cables, and basic first aid supplies—and expand your kit over time. You’ll be grateful for the investment the next time you face the unexpected on the road.